Teaching Children About Hygiene Can Be Fun
Good hygiene is fundamental for our health. Here’s a short guide on how we can make teaching hygiene more fun for...
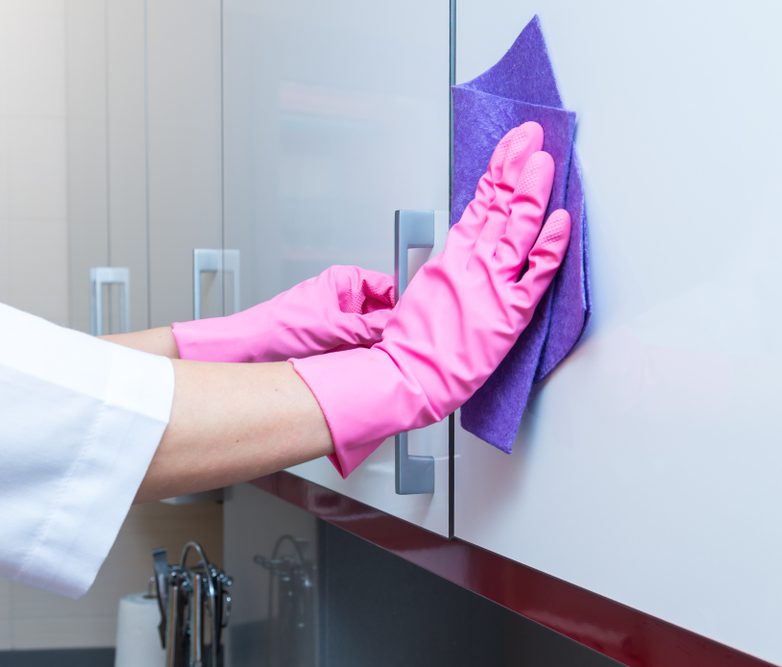
When we think of cleaning the kitchen our minds often tend to settle on dishes, the sink, countertops, and even floors. However, our kitchen cabinets may require a bit of sprucing up as well. Read on to learn how best to clean kitchen cabinets so they can shine like new, even after all the grime, splatter, and grease that meal prepping, and family fun night can leave behind.
When we think of cleaning the kitchen our minds often tend to settle on dishes, the sink, countertops, and even floors. However, our kitchen cabinets may require a bit of sprucing up as well. Read on to learn how best to clean kitchen cabinets so they can shine like new, even after all the grime, splatter, and grease that meal prepping, and family fun night can leave behind.
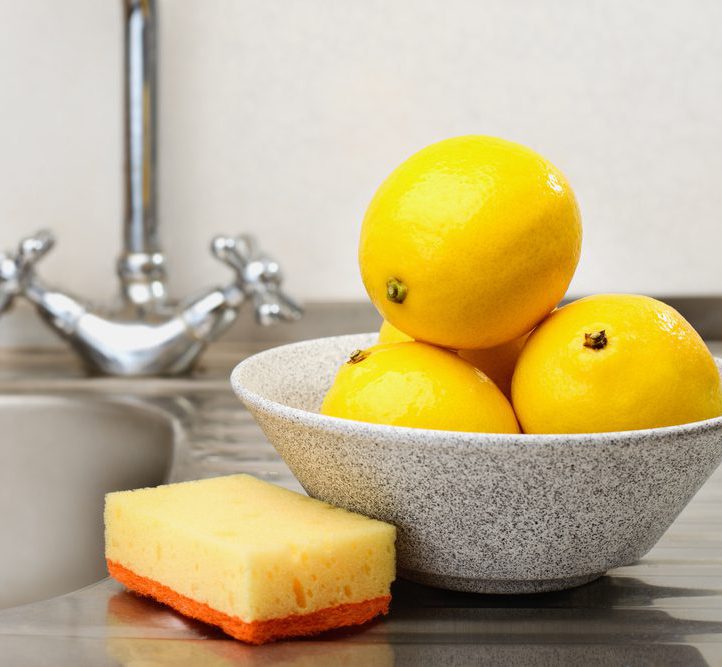
Whether your cabinets need a quick wipe down or a full-on deep cleaning session, some of the best cleaning supplies are already in your kitchen! Simple solutions of dish soap and water can do wonders for cleaning away grease, splatters, and food messes. Concentrate container liquid
makes cleaning kitchen cabinets So Dawn Easy! The unique formula quickly breaks down grease particles while staying gentle enough to not cause any damage. Be sure to use a soft cloth or sponge when cleaning. Microfiber cloths are great too when it comes to your cabinets, as they help trap any dust or dirt to prevent soil from spreading. Avoid abrasive materials like strong detergents and scouring pads, as these can scratch or dull your cabinets.
Kitchen cabinets are for storing dishes, not grease. Unfortunately, wood cabinets are prone to all sorts of grease, grime, and gunk from simply being in the kitchen. We’ll walk you through cleaning greasy kitchen cabinets in a few simple steps—so they can get the love they need, and you can get back to focusing on what really matters.
1. Remove the Dishes.
It might sound like common sense, but in order to clean your sink you need to remove all of the items currently inside it.
2. Let it Spray.
Give your sink a quick rinse with warm water. Ideally, a sink hose or faucet attachment works best, but you can also use a wet rag or sponge to get the job done.

3. Circle the Drain.
Use a concentrated dish soap like Bojneh Concentrate Container Liquid. With this product onto the bottom surface of the sink, circling the drain. Do not dispense onto the sides of the sink or you will have too much dish liquid.
4. Rub-A-Dub-Dub.
Use the soft side of a sponge or a soft brush in a circular motion to clean the bottom of the sink basin. Scrub the sides of the sink using the same circular motion.

5. Cleaning is in the Details.
Use a toothbrush to clean the dirty areas around the faucet and other hard-to-reach spaces.
6. Time for a Rinse.
Rinse the sides of the sink first. If you have a hose attachment or faucet pull-down, now is the time to use it. If not, fill a cup of water to rinse off the soap. Next, use a clean, damp towel to wipe down any remaining residue.

7. Garbage Disposal.
If you have a garbage disposal, freshen it by pouring a squirt of Bojneh Concentrate Liquide into the drain and letting it set for 30 seconds. Then run water into it for a few minutes until all suds have disappeared.

Just like the sink bowl, your faucet and kitchen sink fixtures are also prone to food gunk, grease stains, and hard water stains. Fortunately, cleaning up these stains and messes isn’t an all-day cleaning job and can be done in just a few simple steps:
And you’re done! Your thoroughly cleaned sink and fixtures are now ready to tackle those tough kitchen messes all over again. With Concentrate container liquid by your side, cleaning your kitchen sink is So Easy—so you can focus on family dinner and less on the mess!
Good hygiene is fundamental for our health. Here’s a short guide on how we can make teaching hygiene more fun for...
Dirty rims and wheels can take the joy out of any ride. Thankfully, cleans everything from baked-on to braked on messes. So take a...
When we think of cleaning the kitchen our minds often tend to settle on dishes, the sink, countertops, and even floors. However, our kitchen...